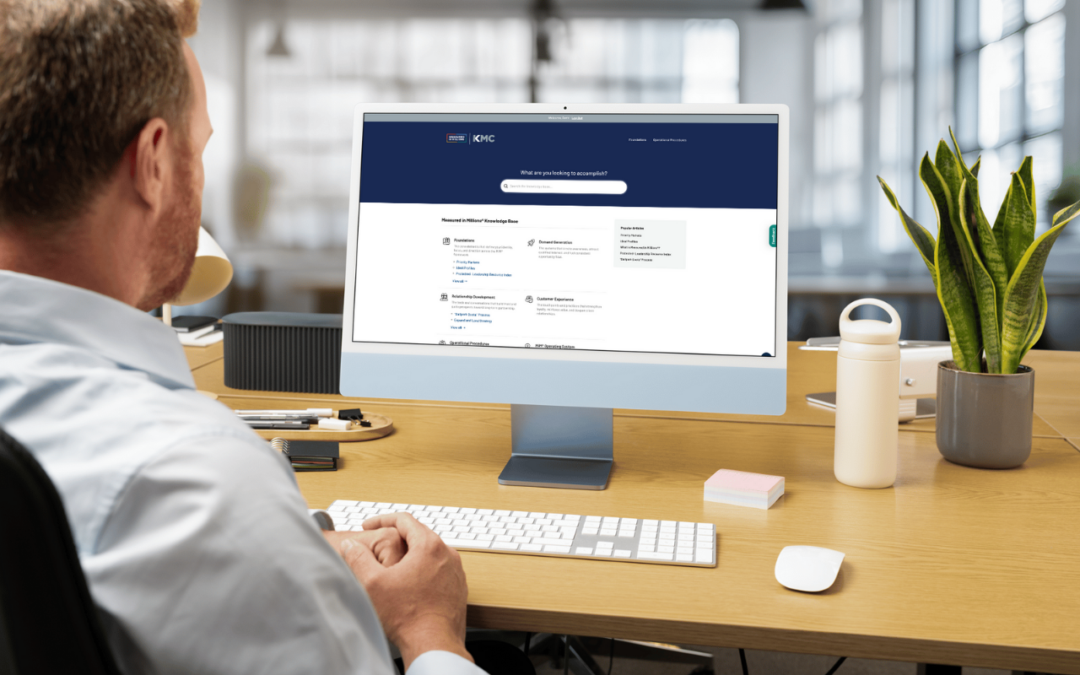
The Digital Playbook is a standardized MiM™ website, customized and branded for each client, that serves as the single source of truth for leadership-level growth decisions.
It evolves over time and documents only the decisions leadership wants the entire company aligned around — not workshop notes, drafts, or diagnostics, which live separately on the Leadership Only page.
When used well, it becomes the internal operating system teams return to for clarity, onboarding, and alignment long after the engagement ends.
Leadership-Only Page
Each Digital Playbook includes a built-in, password-protected Leadership-Only page. This space is reserved for context leadership needs, but the broader organization does not.
It houses the supporting material behind decisions, including workshop recordings, links to the Working Whiteboard, diagnostic inputs, and reference notes leadership may want to revisit.
Where the public Playbook captures decisions, the Leadership-Only page preserves thinking. This separation keeps company-wide alignment clean while giving leaders a private place to return to the work that shaped their direction.
This section comes pre-built with the MiM™ Playbook template. Architects don’t design it — they simply populate it with the appropriate links as the engagement progresses.

Starting Your Playbook
Architects create the Digital Playbook as soon as a client signs on.
This ensures the foundation is ready to receive outputs from Workshop 1 onward. Launching early also allows you to customize branding, configure navigation, and ensure the client’s Playbook looks and feels like their own platform from the very start.
When it’s time to start a client’s Playbook, email Craig at Launchpress using the template below. Once Craig sets up the new Playbook site, he’ll email you to let you know. Then, you’ll update its branding throughout.
Email 1: Digital Playbook
To: craig@launchpress.com
From: MiM™ Architect
Subject: New Client Playbook Site Setup
Hi Craig,
We need a new Playbook site copied from our playbook.measuredinmillions.com template for *Client Name* at *clientname*.measuredinmillions.com. This will be on the Personal plan.
Thank you,
MiM™ Architect
Note: Your login to every single client website will be the same as your login to the MiM™ Partner site.
Customizing Your Playbook
Once you’ve started your client’s Digital Playbook, it’s time to customize it.
Below are detailed instructions and a video walkthrough of how to do that.
Preparation
You'll need to have a couple items easily accessible to make this process go smoother.
Step 1. Load Client Assets into Canva
You may not have the client's brand assets when we first get started. You can start by taking their logo from their site and ask for a proper logo file from them later.
- Grab the logo off the client's site by simply clicking and dragging it to your Downloads file or Desktop.
- Create a new Brand Kit in Canva, name it after your client.
- Add the logo you grabbed off their site to the new Brand Kit.
- It will automatically pull in any colors from their logo and suggest it as the color palette. You can either keep the palette or decline it and add the client's colors manually.
- If the client's colors are not evident in their logo, go back to their website and take a screenshot of their homepage.
- Upload the screenshot into the Brand Kit where you uploaded the logo. Canva will again suggest a color palette based on the picture you uploaded.
- Choose to keep the palette so you can capture the client's colors used on their website.
- Delete the screenshot after this.
You will need both the client's logo and color palette when customizing their Playbook, so it's important to have these elements loaded into Canva.
Step 2. Make the Client/MiM™ Logo
You'll need to add the client's logo to the Playbook, but it's not their logo alone - it is a combination of the MiM™ logo and the client's logo.
Note: Because the logo will be on the header and login screens, which will be the client's primary color, the logos will both need to be white or light so they show up.
- Open this Canva design: Digital Playbook Client Logos
- Duplicate any page
- Delete the previous client's logo
- Add your new client's logo
- Make sure it's the lightest version of their logo. If a light version does not exist, use the picture editing tools to make it white.
- Use the Picture Effect → "Duotone"
- Select Custom
- Change both Shadows and Highlights to white
- Increase Intensity to 100

- Make sure the background of the logo is transparent. If it's not, use the Background Remover tool to elminate the background.
- Go to Share → Download → select PNG
- Select Transparent Background
- Choose Current Page
- Click Download
Your joint logo is now ready for use on the Playbook.
Theme Customizer
The following action items will all take place in the Theme Customizer.
Step 3. Customize Site Identity
After the new site is live, you’ll start by updating the Site Identity.
- Go to Divi → Theme Customizer → General Settings → Site Identity
- Update the Site Name to reflect the client’s actual name (i.e. *Client Name* Digital Playbook)
- Click Publish
- Click the Customizer back arrow (top left of the sidebar) to return to the Customizer menu.
*Note: This will NOT update the client's name on the homepage. We will take care of that in a different step.
Step 4. Customize Colors
Divi uses a Global Colors approach, so when we change the Primary and Secondary colors here in this panel, it'll change it across the entire website with one click.
Customize this to your client's colors, and your website should be in pretty good shape.
- Under Site Identity, go to → Layout Settings
- Update the Primary Color to your client's primary color
- Update the Secondary Color to your client's primary color
- Click Publish
- Click the Customizer back arrow (top left of the sidebar) to return to the Customizer menu.
Step 5. Customize the Fonts
Next, go to → Typography
- Change the Headings Font Family to the client’s heading font
- Change the Headings Font Color to the client’s dark color
- Change the Body Font Family to the client’s body font
- Change the Body Font Color to the client’s dark color
- Change your Link Color to your client's secondary color
- Click Publish
- Click the Customizer back arrow twice to return to the Customizer menu.
Note: If the client doesn’t have defined fonts, you can leave these how they are.
Step 4. Customize the Login Experience
Next, to align the login screen with the client’s branding:
- Go to → LoginPress
- Under Logo, upload the logo you made in Step 2
- Click Publish
- Click the Customizer back arrow (top left of the sidebar) to return to the main menu.
- Under Button Beauty, update the Button Color and Button Border Color to the client's primary color.
- Update the Button Color (Hover) and Button Border (Hover) to a lighter color in the client's color palette.
- Click Publish
Now you're going to exit the Theme Customizer by clicking the "x" in the top left corner.
Theme Options
The next action item will take place in the Theme Options. Go to Divi → Theme Options
Step 5. Add the Site Logo
- In Theme Options, the very top option is the Logo.
- Click Upload and upload the high resolution logo you created in Step 2.
Homepage
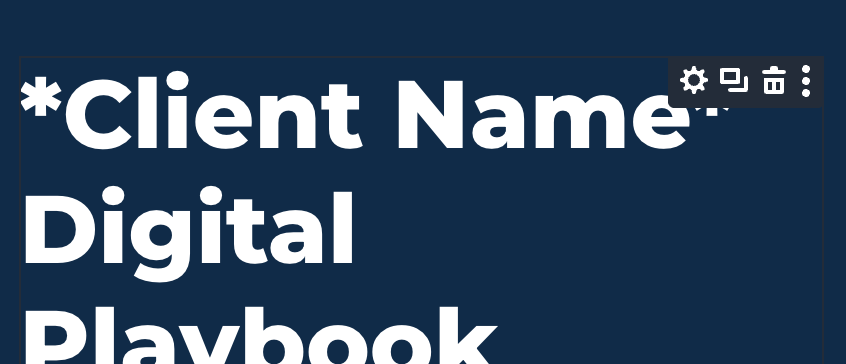
Now we need to change the *Client Name* section on the homepage.
Step 6. Change *Client Name* on Homepage
You'll see that even after you changed the Site Identity, this *Client Name* has not updated. That's because it's an independent text box. Follow the steps below to change it.
- Click Edit with Divi to get to editing mode.
- Click the Module that contains the title. It should be dark gray.
- In the editing panel, you'll see where you're able to change this to the client's actual name.
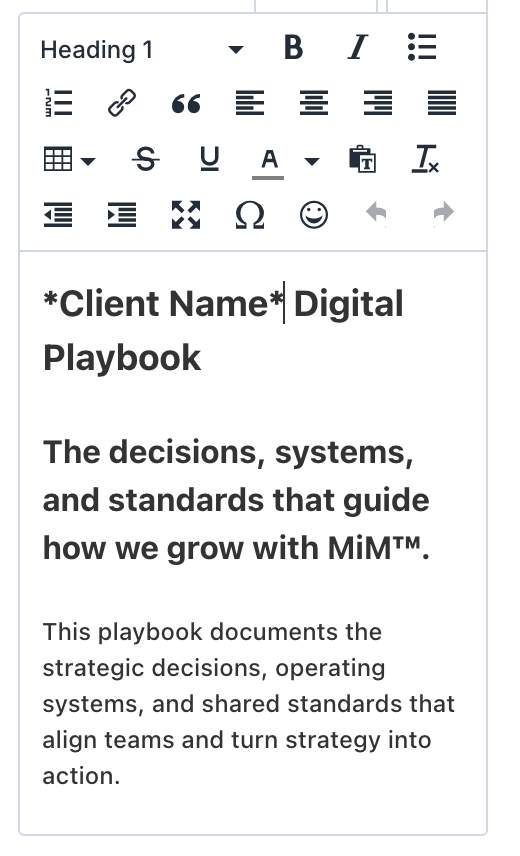
- Write your client's name, then click Save.
(Optional) Step 7. Change Homepage Image
If you don't want this man's enthusiastic smiling face as your homepage image, you can change this.
- Click Edit with Divi to get to editing mode.
- Click the Section that contains the picture. It should be blue.

- In the editing panel, click Background
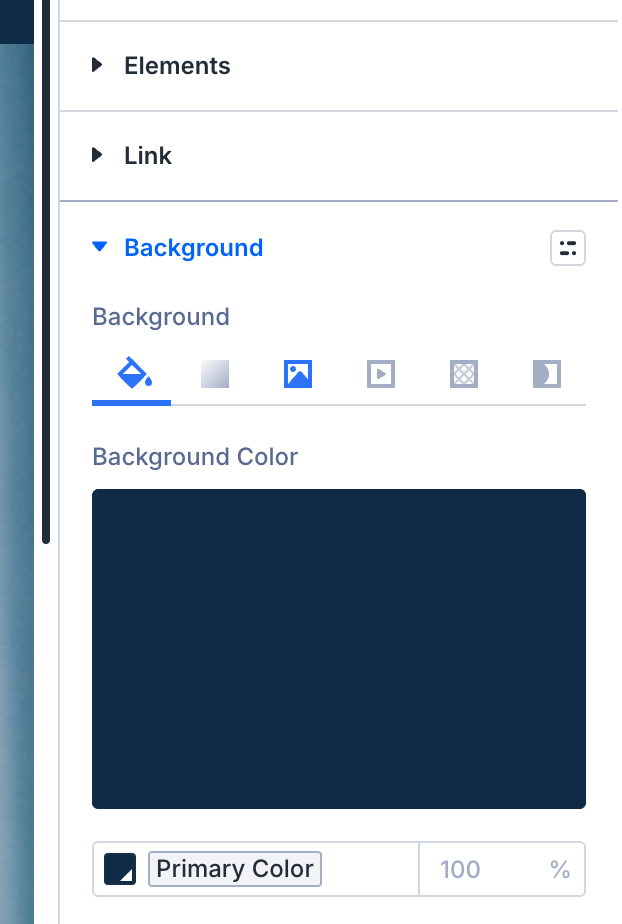
- In the first tab higlighted bright blue, you'll see the background overlay color. You can change this to a color in your client's color palette if you'd like.
- In the other tab highlighted bright blue, you'll see the background image. You can change this to something relevant to your client.
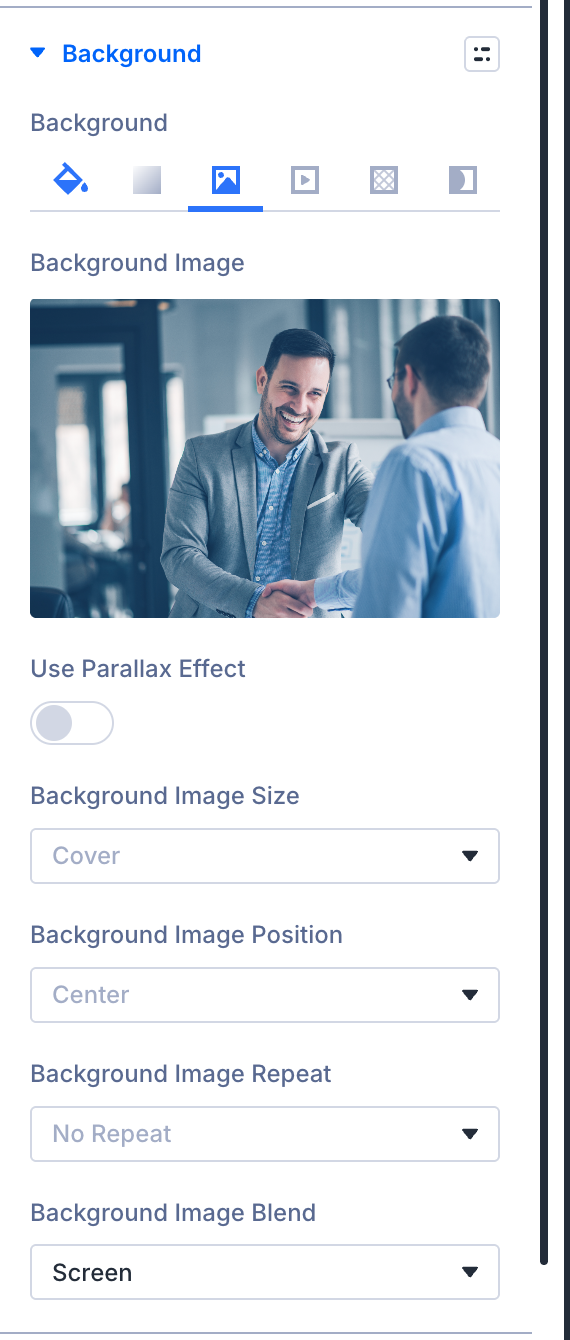
- Note: Keep Background Image Blend on Screen
- Once you've made your edits, click Save.
Adding Content to Your Playbook
Once leadership decisions begin to solidify, your role is to translate them into the Digital Playbook.
By the end of the Quick Start™, that typically means publishing Priority Markets and Ideal Profiles to the company-facing Playbook pages. Everything else from the Quick Start™ workshops remains on the Leadership-Only page, with few exceptions.
Use the tutorials below to add, update, and format Playbook content as decisions are made.
Coming Soon
Adding Client Users
Digital Playbooks are permission-based. Only users who are logged in and granted access can view a client’s Playbook.
Once the Intro to MiM™ is complete, the Architect can now create user profiles for the leadership team involved in the Quick Start™. his ensures the Playbook is introduced to the same leaders who are helping shape it — preserving clarity, alignment, and shared ownership from the start.
Use the steps below to create users, assign permissions, and manage access for your client’s team.
- In the left navigation bar, go to Users → Add New
- Create a username using the format firstname.lastname (note: this cannot be changed later)
- Enter the client’s email, first name, and last name
- Leave all other settings as default
- Click Add User
Note: Adding a user will automatically send them an email notification, so make sure they’re aware before you proceed. If you’d prefer to deliver their username and password personally, you can toggle this setting off.
A Final Note
The Digital Playbook is not meant to be static and finished — it’s meant to be alive and evolving.
It evolves with the business as markets shift, the company grows, and leadership makes new decisions. When direction feels unclear, leaders should be able to return to the Playbook and immediately see what matters most, what comes next, and why — with strategy, audience, purpose, and positioning clearly documented in a way that keeps relationships at the center of every decision.
Next Steps
Time to create the working whiteboard that you'll use throughout the Quick Start™. Click below to learn how.