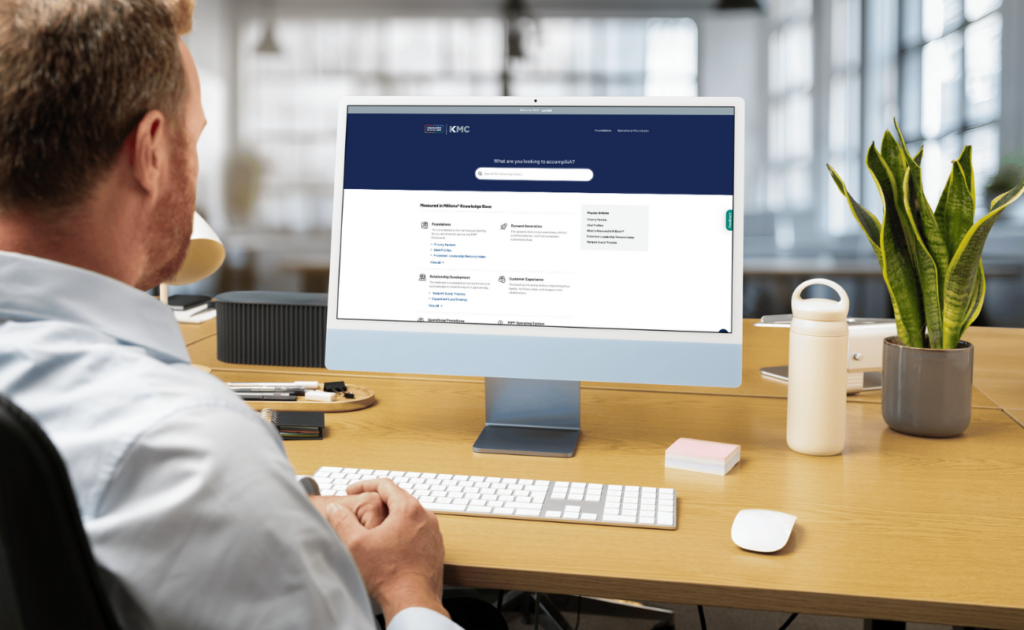
The Digital Playbook is a standardized MiM™ website, customized and branded for each client, that serves as the single source of truth for leadership-level growth decisions.
It evolves over time and documents only the decisions leadership wants the entire company aligned around — not workshop notes, drafts, or diagnostics, which live separately on the Leadership Only page.
When used well, it becomes the internal operating system teams return to for clarity, onboarding, and alignment long after the engagement ends.
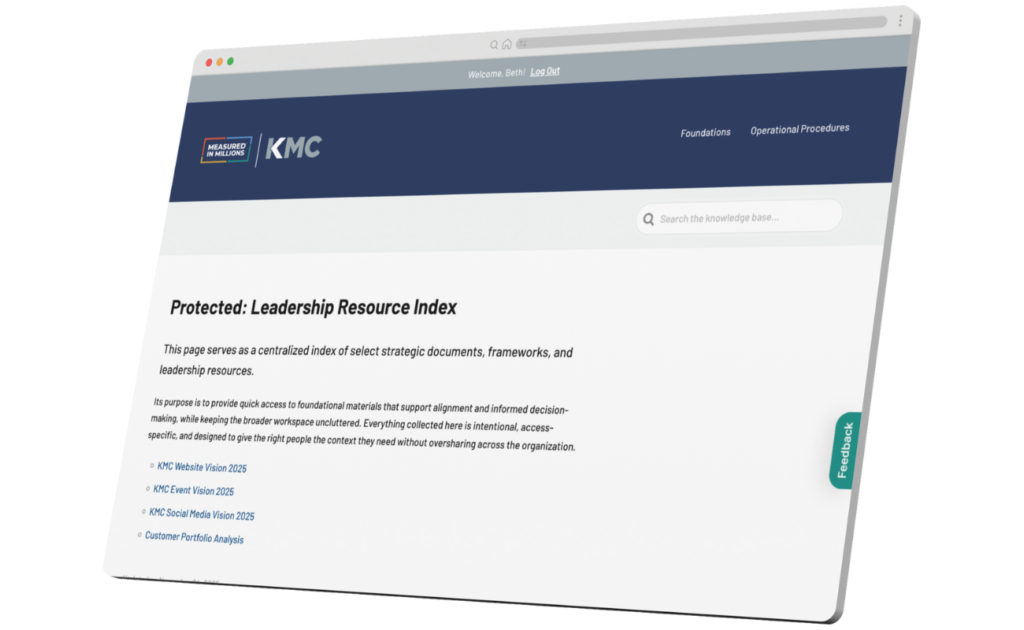
Leadership-Only Page
Each Digital Playbook includes a built-in, password-protected Leadership-Only page. This space is reserved for context leadership needs, but the broader organization does not.
It houses the supporting material behind decisions, including workshop recordings, links to the Working Whiteboard, diagnostic inputs, and reference notes leadership may want to revisit.
Where the public Playbook captures decisions, the Leadership-Only page preserves thinking. This separation keeps company-wide alignment clean while giving leaders a private place to return to the work that shaped their direction.
This section comes pre-built with the MiM™ Playbook template. Architects don’t design it — they simply populate it with the appropriate links as the engagement progresses.
Starting Your Playbook
Architects create the Digital Playbook as soon as a client signs on.
This ensures the foundation is ready to receive outputs from Workshop 1 onward. Launching early also allows you to customize branding, configure navigation, and ensure the client’s Playbook looks and feels like their own platform from the very start.
When it’s time to start a client’s Playbook, email Craig at Launchpress using the template below. Once Craig sets up the new Playbook site, he’ll email you to let you know. Then, you’ll update its branding throughout.
To: cr***@*********ss.com
From: MiM™ Architect
Subject: New Client Playbook Site SetupHi Craig,
We need a new Playbook site copied from our playbook.measuredinmillions.com template for [Client Name] at [clientname].measuredinmillions.com. This will be on the Personal plan.
Thank you,
MiM™ Architect
Customizing Your Playbook
Once you’ve started your client’s Digital Playbook, it’s time to customize it.
Below are detailed instructions and a video walkthrough of how to do that.
After the new site is live, you’ll start by updating the Site Identity.
- Go to Appearance → Customize → Site Identity
- Update the Site Name to reflect the client’s actual name (i.e. *Client Name* Digital Playbook)
- Click Publish
- Click the Customizer back arrow (top left of the sidebar) to return to the main menu.
Next, move into → Theme.
This is where you’ll apply the client’s branding across the Playbook. Inside Theme, you’ll work through four sub-sections — Header, Styling, Typography, and Custom CSS — in this order.
Header
Change site colors and logo
- Go to Customize → Theme → Header
- Change the Site Logo and Site Retina Logo
- To create an MiM® + Client logo, use the Canva template: Client Digital Playbook Logos
- Duplicate an existing logo page and replace it with the client’s logo
- The background color doesn’t matter — it’s just for visibility (the logo should be white or light, since the Playbook background is dark)
- Export as a PNG with transparent background — this is your Site Logo
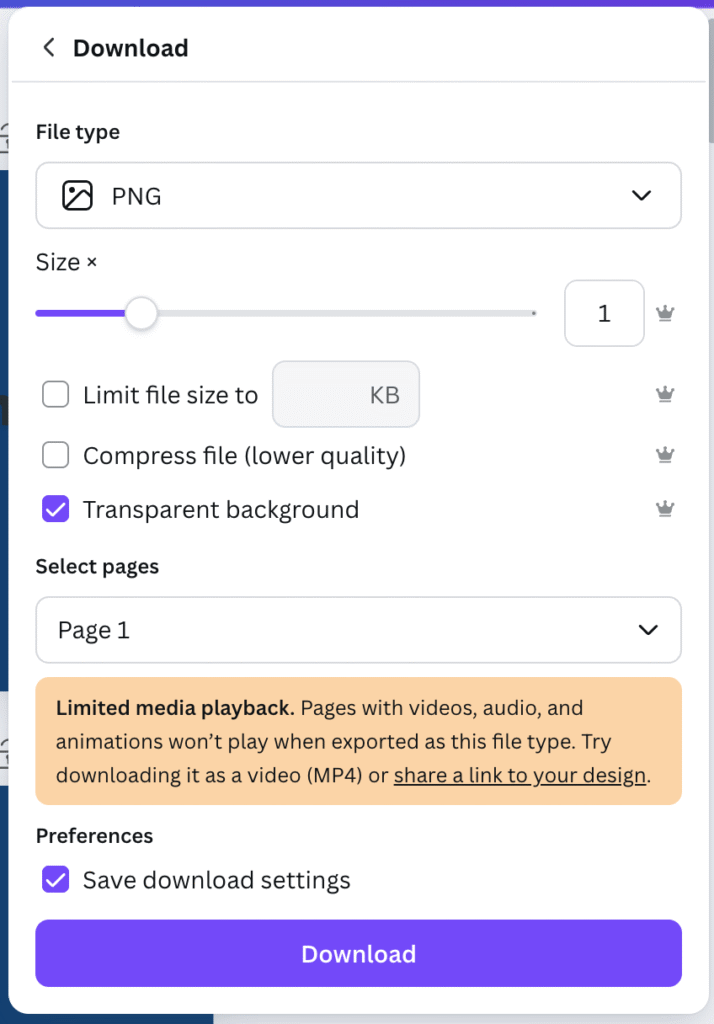
- Export again at 2x size — this is your Site Retina Logo

- Upload both logos to their respective fields
- Under Header Background, set the color to the client’s primary dark color
- Click Publish
- Click the Customizer back arrow (top left of the sidebar) to return to the main menu.
Styling
- Change the Link Color and Link Color: hover to the client’s dark and light brand colors
- Click Publish
- Click the Customizer back arrow (top left of the sidebar) to return to the main menu.
Typography
- Change the Headings Font Family to the client’s heading font
- Change the Headings Font Color to the client’s dark color
- Change the Body Font Family to the client’s body font
- Change the Body Font Color to the client’s dark color
- Click Publish
- Click the Customizer back arrow (top left of the sidebar) to return to the main menu.
Note: If the client doesn’t have defined fonts, use Open Sans for both headings and body text.
Custom CSS
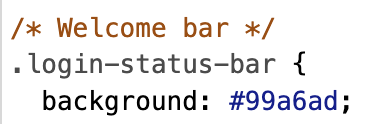
Under Additional CSS, locate the pre-loaded code. Only update the three color hex codes noted in the comments:
Base color: login button color
- Change this to a complimentary color in your client’s color palette
- Keep in mind that it will be contrasted against the dark color you added as a background


Hover color: login button hover state
- Change this to a contrasting color of the login button


Welcome bar background: background color once logged in
- Change this to the same color as your login button.

Note: If you’re unsure which color codes to edit, ask Beth before saving.

To align the login screen with the client’s branding:
- Go to Customizer → LoginPress
- Under Logo, upload the same logo you used in the Theme section; adjust logo width until it looks right
- Click Publish
- Click the Customizer back arrow (top left of the sidebar) to return to the main menu.
- Under Background, change the background color to the client’s primary dark color; toggle off “Enable Background Image”
- Click the Customizer back arrow (top left of the sidebar) to return to the main menu.
- Under Button Beauty, update the Button Color and Button Border Color to the same dark background color as the Header of your website.
- Update the Button Color (Hover) and Button Border (Hover) to the same color as the link hover color on your website.
- Click the Customizer back arrow (top left of the sidebar) to return to the main menu.
- Under Form Footer, update the Footer Text Hover Color and the “Back to” Text Hover Color to the same contrasting color
- Click Publish
Digital Playbooks are permission-based. Only users who are logged in and granted access can view a client’s Playbook.
Once the Intro to MiM™ is complete, the Architect can now create user profiles for the leadership team involved in the Quick Start™. his ensures the Playbook is introduced to the same leaders who are helping shape it — preserving clarity, alignment, and shared ownership from the start.
Use the steps below to create users, assign permissions, and manage access for your client’s team.
- In the left navigation bar, go to Users → Add New
- Create a username using the format firstname.lastname (note: this cannot be changed later)
- Enter the client’s email, first name, and last name
- Leave all other settings as default
- Click Add User
Note: Adding a user will automatically send them an email notification, so make sure they’re aware before you proceed. If you’d prefer to deliver their username and password personally, you can toggle this setting off.
Adding Content to Your Playbook
Once leadership decisions begin to solidify, your role is to translate them into the Digital Playbook.
By the end of the Quick Start™, that typically means publishing Priority Markets and Ideal Profiles to the company-facing Playbook pages. Everything else from the Quick Start™ workshops remains on the Leadership-Only page, with few exceptions.
Use the tutorials below to add, update, and format Playbook content as decisions are made.
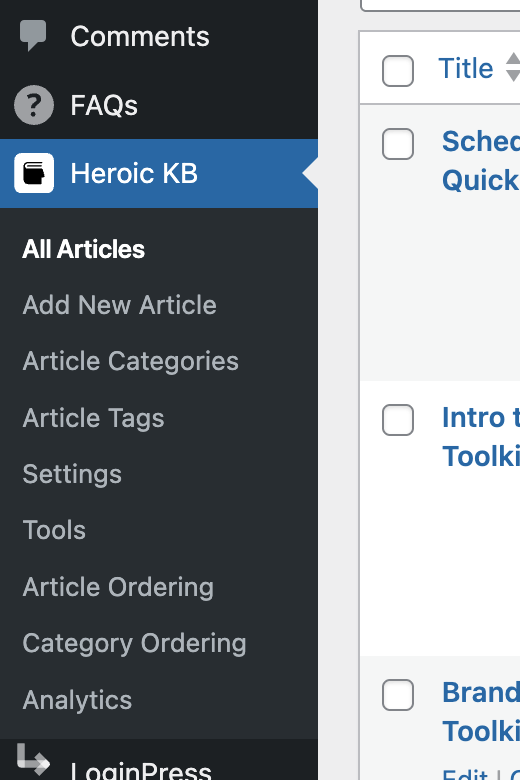
To add an article, hover over the Heroic KB module in the left navigation, and click on “Add New Article” or “All Articles“.
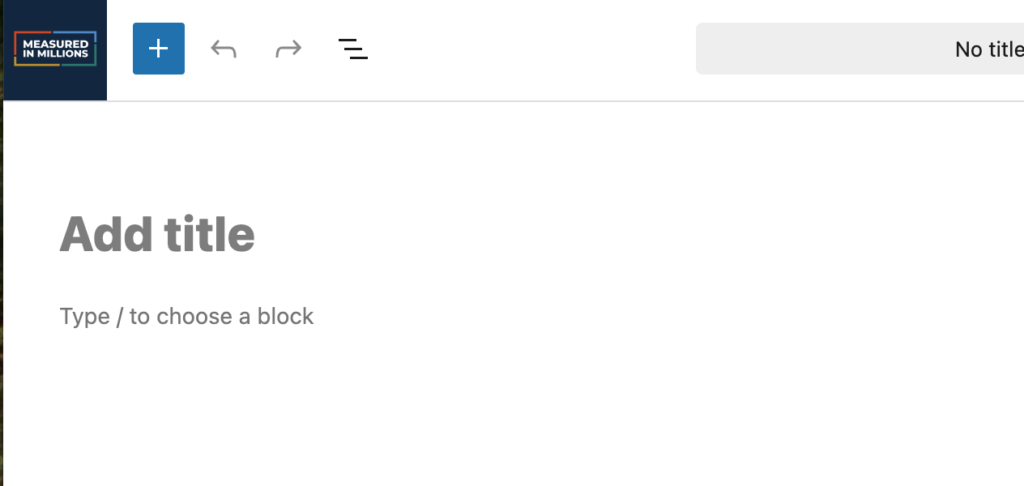
Once you’ve started a new article, add a title at the top of the page, and begin adding your content.
You can Save or Publish your page at any time by using the buttons in the top right corner of the editor.
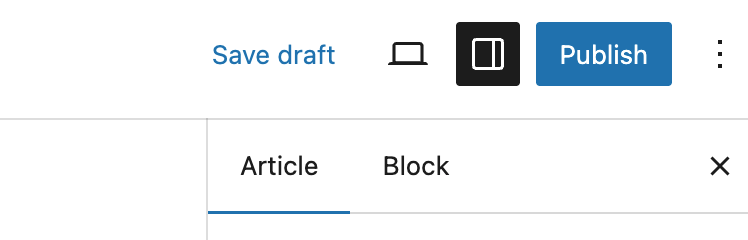
If you need to change the URL slug of your article, you’ll find it in the editing column below the Save and Publish buttons.

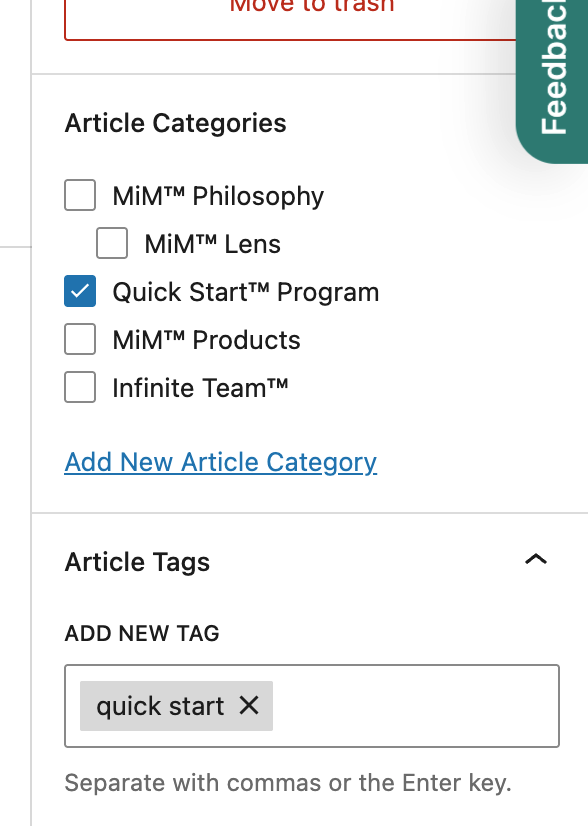
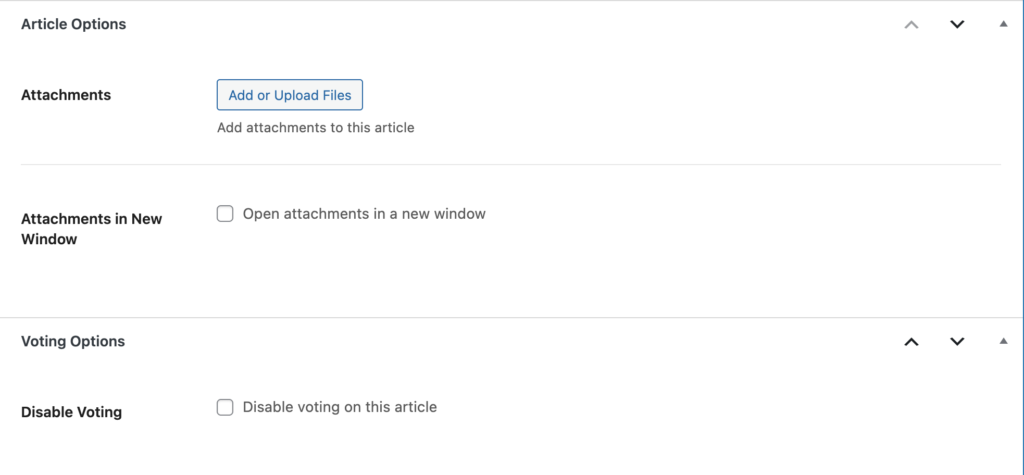
Ensure you add Article Categories and Article Tags by selecting and typing in the editing column.
At the bottom of the editor, you’ll find several options for the article. If you need to attach a document to the article, this is where you would do it.
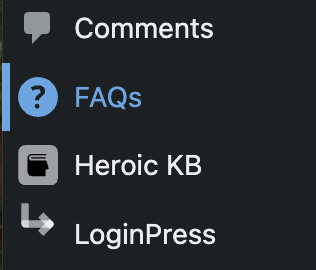
FAQs must be created outside of the Article first. Look for FAQs in the left navigation.
Scroll all the way to the bottom of the FAQ page (if necessary), and you’ll see a button that allows you to add a New FAQ Group.
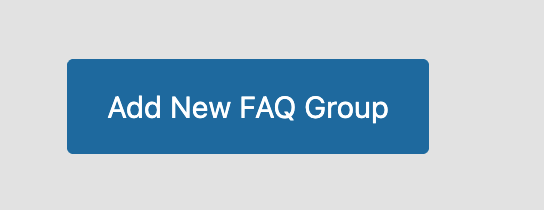
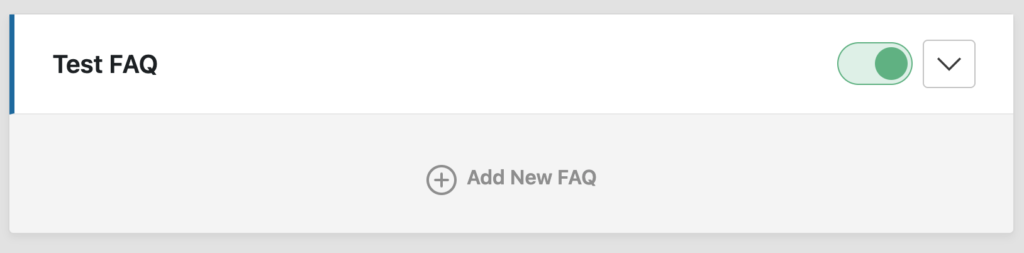
Once you’ve clicked the button, it’ll ask you to name the FAQ Group. You’ll want to give this a unique name, usually the name of the page you’re creating it for, because you’ll have to choose this group from a dropdown to insert it on your actual Article. Name the group and save.

Once you’ve named the group, you can start adding your FAQ questions and answers.
To add this FAQ Group to your Article, you’ll need to navigate back to the article you want to add it to. Add the block “Heroic FAQ“.

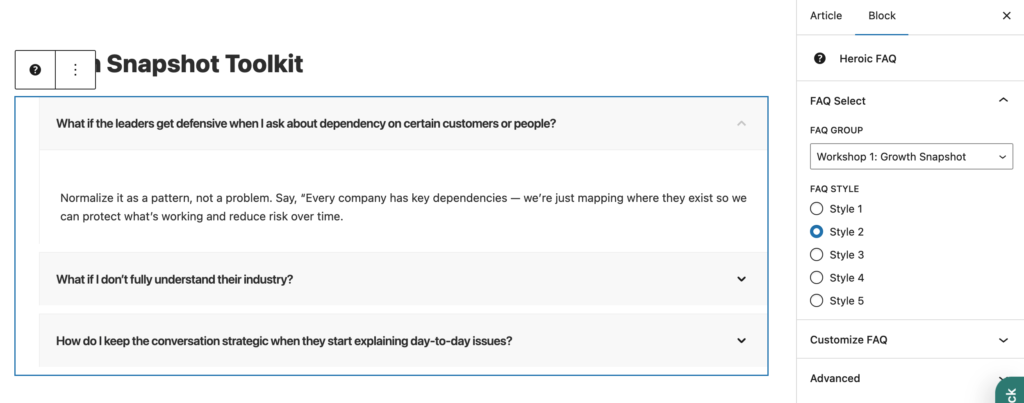
Click on the block you inserted, and you’ll see options in your editor to the right. You’ll need to select your FAQ Group from the drop down, and select Style 2.
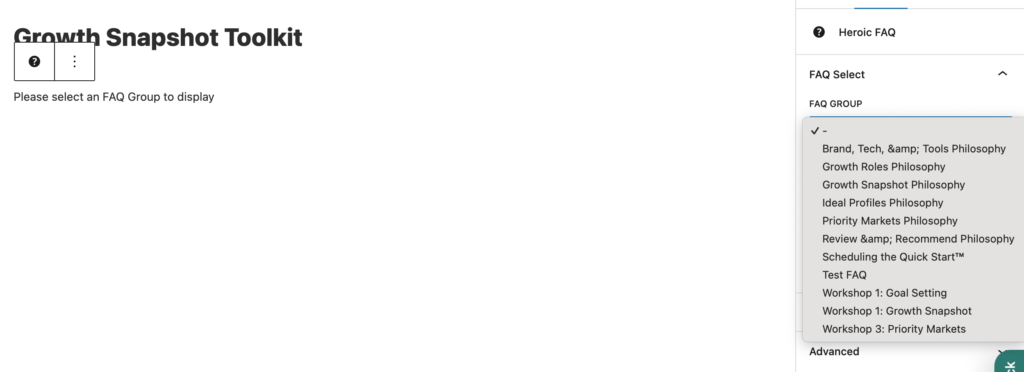
You should then see your FAQs populate.
A final note: The Digital Playbook is not meant to be static and finished — it’s meant to be alive and evolving.
It evolves with the business as markets shift, the company grows, and leadership makes new decisions. When direction feels unclear, leaders should be able to return to the Playbook and immediately see what matters most, what comes next, and why — with strategy, audience, purpose, and positioning clearly documented in a way that keeps relationships at the center of every decision.